
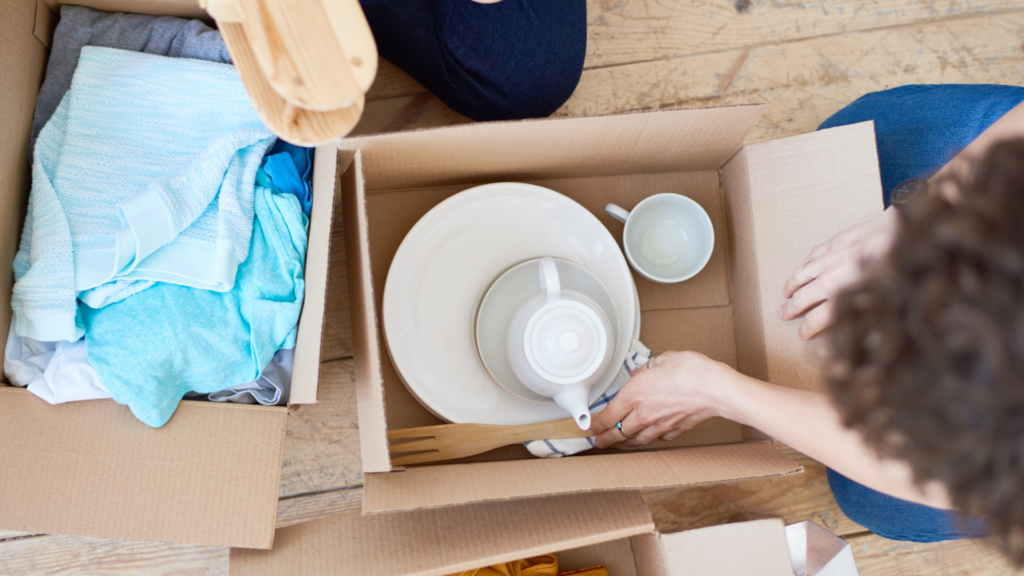
How To Pack Dishes For Moving
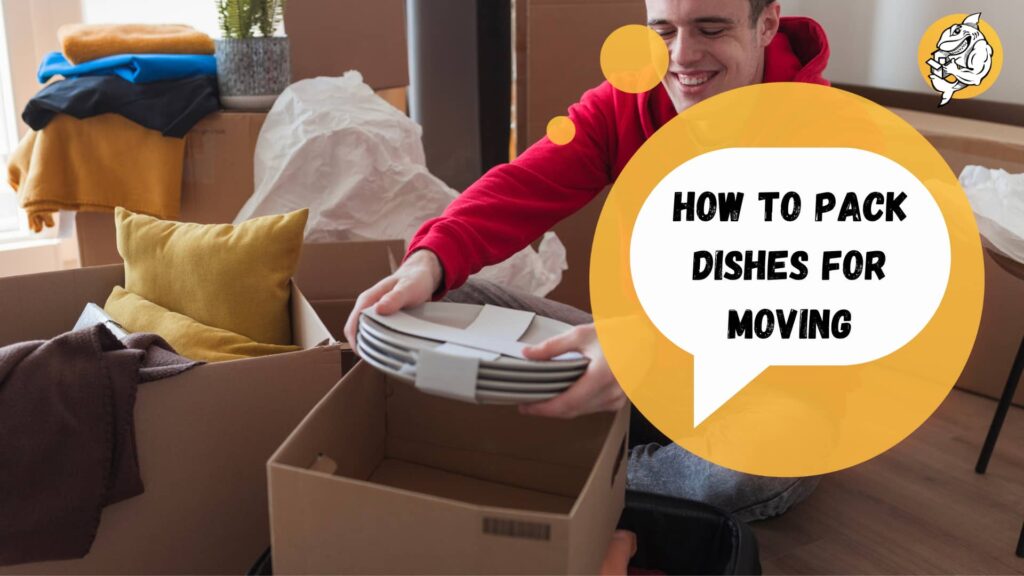
Summary: Moving can be stressful, but with our comprehensive guide on How To Pack Dishes For Moving, you can safeguard your precious dishware and make your moving process easier. Learn from the experts at Qshark Moving Company to ensure a smooth transition.
One Minute Read How To Pack Dishes For Moving:
| Section | Key Steps |
|---|---|
| I. Introduction | Overview of the importance of properly packing dishes for moving. |
| II. Materials Needed | Dish boxes, packing paper, bubble wrap, packing tape, and a permanent marker. |
| III. Preparing for Packing | Clean dishes, prepare packing space, and organize dishes by type and size. |
| IV. General Packing Tips | Heavier items on bottom, avoid overpacking boxes, fill empty spaces, wrap items individually, and label everything. |
| V. Packing Different Types of Dishes | Detailed steps for packing plates, bowls, glasses, cups, specialty items, and pots and pans. |
| VI. After Packing | Double-check boxes, arrange boxes thoughtfully, consider hiring professional movers, and consider moving insurance. |
| VII. Conclusion | Summary of the article and reminder of the importance of proper packing and potential assistance from Qshark Moving Company. |
Moving is often a daunting task. It can be hectic, from sorting out your belongings and deciding what to keep and discard to packing and transportation. One of the most nerve-wracking moving parts is ensuring your fragile items, like dishes, make it to your new home in one piece. That’s why we at Qshark Moving Company, your trusted local movers, have compiled this comprehensive guide to help you learn How To Pack Dishes For Moving like a professional mover.
Understanding the nuances of packing can be the difference between broken plates and a set of dishes ready to be placed in your new kitchen cabinets. We’ll guide you through every step, ensuring you have all the knowledge you need to make your move as smooth as possible.
What this Guide Covers:
- Understanding the Required Materials: Detailed list and descriptions of all the materials you need to pack your dishes safely.
- Preparing for Packing: Tips and tricks on preparing your dishes and packing area before you begin.
- General Packing Tips: Important principles to remember throughout the packing process.
- Step-by-Step Guide on Packing Different Types of Dishes: In-depth instructions on packing plates, bowls, glasses, cups, specialty items, and pots and pans.
- Securing the Box: How to ensure your boxes are sealed, labeled, and ready for transport.
- Special Considerations: Guidelines for packing antique or expensive dishes and dealing with unusual sizes or shapes.
- Loading and Unloading Boxes Containing Dishes: Best practices for moving your packed boxes into and out of the moving truck.
- Frequently Asked Questions: Answers common questions about packing dishes for a move.
So, let’s get started! With Qshark, your trusted cheap movers and packers, your dishes are one step closer to being safely transported to their new home.
II. Understanding the Required Materials
Before we dive into packing specifics, let’s ensure you have all the necessary materials. Here’s a list of the items you will need:
- Dish Boxes are sturdy, double-walled boxes designed to pack dishes and other fragile items. They are the safest option for transporting your dishes.
- Packing Paper: Also known as newsprint, packing paper is perfect for wrapping individual dishes and providing a cushion within the box. Remember, never use printed newspapers, as the ink can rub off your dishes.
- Bubble Wrap: This is useful for wrapping more delicate or valuable dishes. The air-filled bubbles provide excellent protection against shocks and bumps during the move.
- Packing Tape: Strong packing tape is necessary to seal your boxes securely. Don’t skimp on the quality here — you want to ensure your boxes stay closed during the move.
- Permanent Marker: You’ll need this for labeling your boxes. Clear labels help you and your movers know what’s inside each box and how it should be handled.
- Scissors or Box Cutter: These will be used to cut the packing tape, bubble wrap, and other items as needed.
Packing Materials for Moving
Let’s dive a bit deeper into each item and understand why they are essential in packing dishes for moving:
- Dish Boxes: These specialized boxes from Qshark are double-walled, providing extra protection for your dishes. They come in different sizes, so choose the ones that best fit your dishes.
- Packing Paper: Packing paper acts as a barrier between dishes, reducing the risk of scratches or chips. It can also be crumpled up to fill empty spaces in the box, preventing your dishes from moving around during transport.
- Bubble Wrap: Bubble wrap offers additional protection for your most fragile items. Each bubble functions as a shock absorber, reducing the impact of bumps and shocks.
- Packing Tape: High-quality packing tape ensures your boxes stay sealed. It’s worth investing in strong tape to avoid boxes opening unintentionally during the move.
- Permanent Marker: Proper labeling is crucial in the moving process. Indicating the contents and room destination on the box can help during unpacking. It’s also important to mark boxes containing fragile items as “FRAGILE” to ensure careful handling.
- Scissors or Box Cutter: A basic tool to cut tape, bubble wrap, and packing paper. Having one on hand will make your packing process smoother.
Ensuring you have all these packing materials before you start can make your packing process more efficient and stress-free.
III. Preparing for Packing
Before you dive into packing, it’s important to prepare your dishes and your packing area. This will make the process smoother and more efficient. Here are the steps you should follow:
A. Clean and Dry Your Dishes
- Wash all dishes thoroughly. Packaging clean dishes is best to prevent dirt, food particles, or oils from causing damage.
- Allow your dishes to dry completely. Packing damp dishes can lead to mildew or mold during transit.
B. Clear and Set Up Your Packing Space
- Choose a large, flat surface to pack your dishes, such as a dining table or a clean countertop. Ensure the area is free from clutter.
- Lay a large bubble wrap or blanket on the surface to create a soft packing area.
- Organize your packing materials. Have your dish boxes, packing paper, bubble wrap, packing tape, and permanent marker close at hand.
C. Organize Dishes by Type and Size
- Sort your dishes into categories (plates, bowls, cups, glasses, etc.). This makes it easier to pack similar items and helps you track what you’ve packed.
- Within each category, sort the dishes by size. Generally, heavier and larger items should be packed first, with lighter and smaller items on top.
Preparing properly can make the packing process much easier and more efficient. Now, you’re ready to start packing!
IV. General Packing Tips and How To Pack Dishes For Moving
Before we dive into the specific packing instructions for different types of dishes, you should keep some general packing principles in mind. These tips will help ensure your dishes reach your new home safely:
A. Heavier Items on Bottom
When packing your dish boxes, always place heavier items at the bottom. This creates a stable base and prevents lighter, more fragile items from being crushed.
B. Don’t Overpack Boxes
While cramming as many items into a box may be tempting, this can lead to broken dishes. Allow plenty of room for packing materials; never force an item into a box.
C. Fill Empty Spaces
Any space in a box can cause your dishes to shift during transit, leading to breakages. Fill these spaces with crumpled packing paper or other padding materials.
D. Wrap Items Individually
To protect against scratches and chips, each item should be wrapped individually in packing paper or bubble wrap.
E. Label Everything
Using your permanent marker, label each box with its contents and the room it belongs in. Don’t forget to mark boxes with fragile items.
Following these general packing tips can protect your dishes during your move. Next, we will look at specific packing instructions for different types of dishes.
V. Step-by-Step Guide: How to Pack Different Types of Dishes

A. Plates
Plates are some of the most commonly damaged items during a move, but carefully packing ensures they arrive at your new home intact. Here’s how to pack your plates:
- Prepare the Box: Assemble your dish box according to the manufacturer’s instructions. Strengthen the bottom of the box with extra packing tape to ensure it can hold the weight of your plates.
- Cushion the Box: Create a layer of crumpled packing paper at the bottom of the box for additional cushioning.
- Wrap Each Plate: Lay one plate in the center of a packing paper sheet. Fold the paper over the plate, tucking the ends in as if wrapping a present. For extra protection, consider adding a layer of bubble wrap around each wrapped plate.
- Pack the Plates: Place each wrapped plate vertically (on its side) in the box. This reduces the surface area in contact with the box, minimizing the risk of damage. Continue packing the plates this way, ensuring they fit snugly without forcing them.
- Fill the Gaps: Once all plates are in the box, fill any remaining spaces with crumpled packing paper to prevent the plates from shifting.
- Seal and Label the Box: Close the box and seal it securely with packing tape. Label the box as “Fragile – Plates” and indicate which side is up.
By following these steps, your plates should be well-protected for your move.

B. Bowls
Bowls can be tricky to pack due to their shape, but they can be transported safely with careful wrapping and placement. Here’s how to pack your bowls:
- Prepare the Box: As with plates, assemble your dish box, reinforce the bottom with packing tape, and create a cushioned layer with crumpled packing paper.
- Wrap Each Bowl: Like plates, lay a bowl in the center of a sheet of packing paper and fold the paper around the bowl. You might want to stuff some crumpled paper inside for deeper bowls to provide extra protection.
- Pack the Bowls: Place each wrapped bowl vertically in the box like plates. If you have bowls of different sizes, start with the largest ones at the bottom.
- Fill the Gaps: Once all the bowls are packed, fill any remaining spaces with crumpled packing paper.
- Seal and Label the Box: Close the box, seal it with packing tape, and label it as “Fragile – Bowls.”
C. Glasses and Cups
Glasses and cups are often the most fragile items you’ll pack, but they can be moved without damage with a little care. Here’s how:
- Prepare the Box: Assemble your dish box, reinforce the bottom with packing tape, and put a layer of crumpled packing paper at the bottom.
- Wrap Each Glass/Cup: Start by stuffing the interior of each glass or cup with crumpled packing paper. This helps to prevent damage from impacts. Then, wrap the entire item in packing paper, taking extra care with the handle if it’s a cup.
- Add Bubble Wrap: For added protection, especially for delicate stemware, add a layer of bubble wrap around the wrapped glass or cup.
- Pack the Glasses/Cups: Place each wrapped item upright in the box, starting with the heaviest glasses or mugs at the bottom.
- Fill the Gaps: Fill any remaining spaces with crumpled packing paper.
- Seal and Label the Box: Secure and seal the box with packing tape. Label it as “Fragile – Glasses/Cups.”
Remember to be gentle when handling boxes containing glasses and cups, as these items are particularly fragile.
D. Specialty Items
Specialty items include serving platters, wine decanters, casserole dishes, and other unique or irregularly shaped items. Because of their shapes and sizes, these items require special care when packing. Here’s how to do it:
- Prepare the Box: Assemble your dish box, reinforce the bottom with packing tape, and add a cushioned layer of crumpled packing paper.
- Wrap the Item: Since these items are varied in shape, the wrapping method may change slightly. The basic idea is to cover all parts of the item with packing paper. For delicate items with protruding parts, like the spout of a decanter, consider adding extra padding with bubble wrap.
- Pack the Item: Depending on the item’s size and shape, it may be best to pack it upright or fit better on its side. Use your judgment, remembering that the goal is to prevent movement within the box.
- Fill the Gaps: As always, fill any remaining spaces with crumpled packing paper to prevent movement during transit.
- Seal and Label the Box: Seal the box with packing tape, and label it as “Fragile – Specialty Dishes.”
E. Pots and Pans
Pots and pans are typically sturdy but can still get scratched or dented during a move. Here’s how to pack your pots and pans for a move:
- Prepare the Box: Assemble a medium-sized box (since pots and pans are heavy), reinforce the bottom with packing tape, and put a layer of crumpled packing paper at the bottom.
- Nest Pots and Pans: If possible, nest your pots and pans together by size. This can save space and provide extra protection. However, you should place a layer of packing paper between each pot or pan to prevent scratches.
- Wrap Handles: If the pot or pan has a handle, wrap it in packing paper to prevent it from puncturing the box or other items.
- Pack Pots and Pans: Place the nested pots and pans into the box. Pack them individually if they don’t nest, placing heavier items at the bottom.
- Wrap and Pack Lids: Wrap each lid in packing paper and place them in the box alongside their corresponding pot or pan.
- Fill the Gaps: Use crumpled packing paper to fill any remaining spaces in the box.
- Seal and Label the Box: Secure and seal the box with packing tape. Label it as “Kitchen – Pots and Pans.”
VI. After Packing
Once all your dishes are packed, it’s time to ensure they’re ready for the big move. Here’s what to do:
A. Double-Check Boxes
Go through each box to ensure it’s properly sealed and labeled. Check that the boxes are not overpacked and that there’s no movement inside when gently shaken.
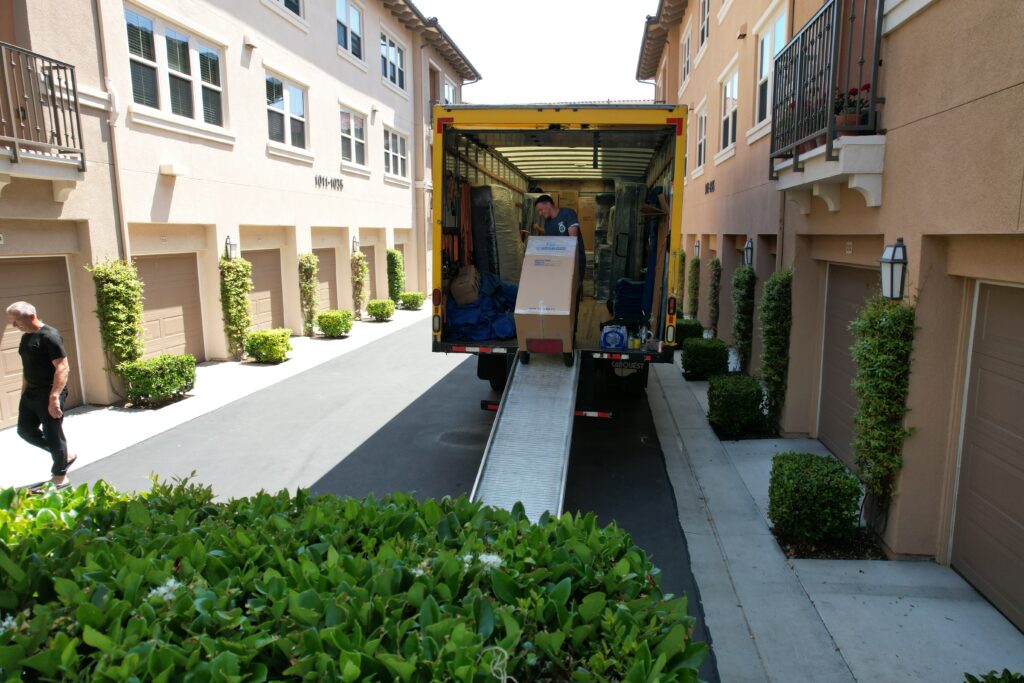
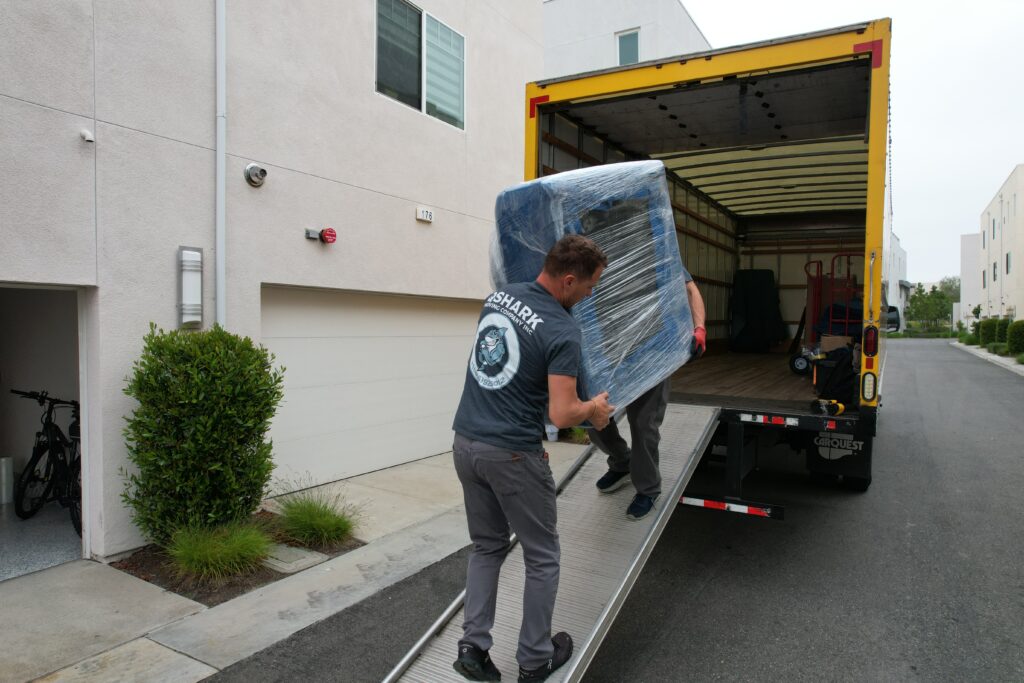
B. Arrange Boxes Thoughtfully
Remember to place heavier boxes at the bottom when loading the boxes onto your moving truck. Avoid stacking other items on top of boxes labeled as fragile.
C. Hire Professional Movers
While a DIY move is certainly possible, hiring professional movers like Qshark Moving Company can make the process much smoother. They have the expertise and equipment to handle your precious items with the care they deserve.
D. Consider Moving Insurance
To further protect your dishes, consider purchasing moving insurance. This can provide financial protection in case any items are damaged during the move.
In conclusion, packing dishes for moving requires a bit of time and effort, but by following these detailed steps, you can ensure your kitchen items arrive safely at their destination. And remember, whether you’re looking for local movers, cheap movers, or professional packers, Qshark Moving Company is here to assist with your moving needs.
VII. Conclusion How To Pack Dishes For Moving
Whether you’re moving across town or the country, packing your dishes properly is crucial to ensure they arrive safely at your new home. While the process may seem daunting, a little preparation and the right packing materials can make a difference. And remember, if you need help, Qshark Moving Company is always here to lend a professional hand. And now you know How To Pack Dishes For Moving. Happy moving!
 What to Pack First When Moving | Expert Tips by Qshark Moving
 How to Move a Home Gym Without Floor Damage (Treadmills, Peloton, Weights) | QShark
 Los Angeles Moving Truck Parking Guide: Permits, No-Parking Signs & Ticket-Proof Loading | QShark
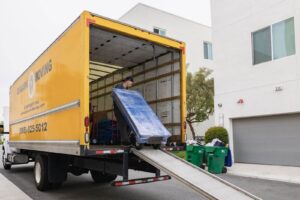 How to Pack Artwork for Moving | Qshark Moving Company
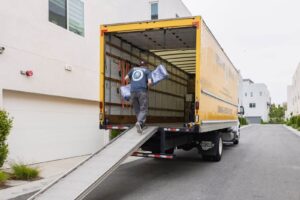 How to Move a Pool Table | Qshark Moving Company