Moving tips
Learn what to pack first when moving with expert tips from Qshark Moving Company. Reduce stress, and prepare for a smooth move.

Moving a home gym? Learn how to move treadmills, Peloton/spin bikes, dumbbells, racks, and cable machines without scratches or dents. Tools, floor protection, stairs, and pro tips.
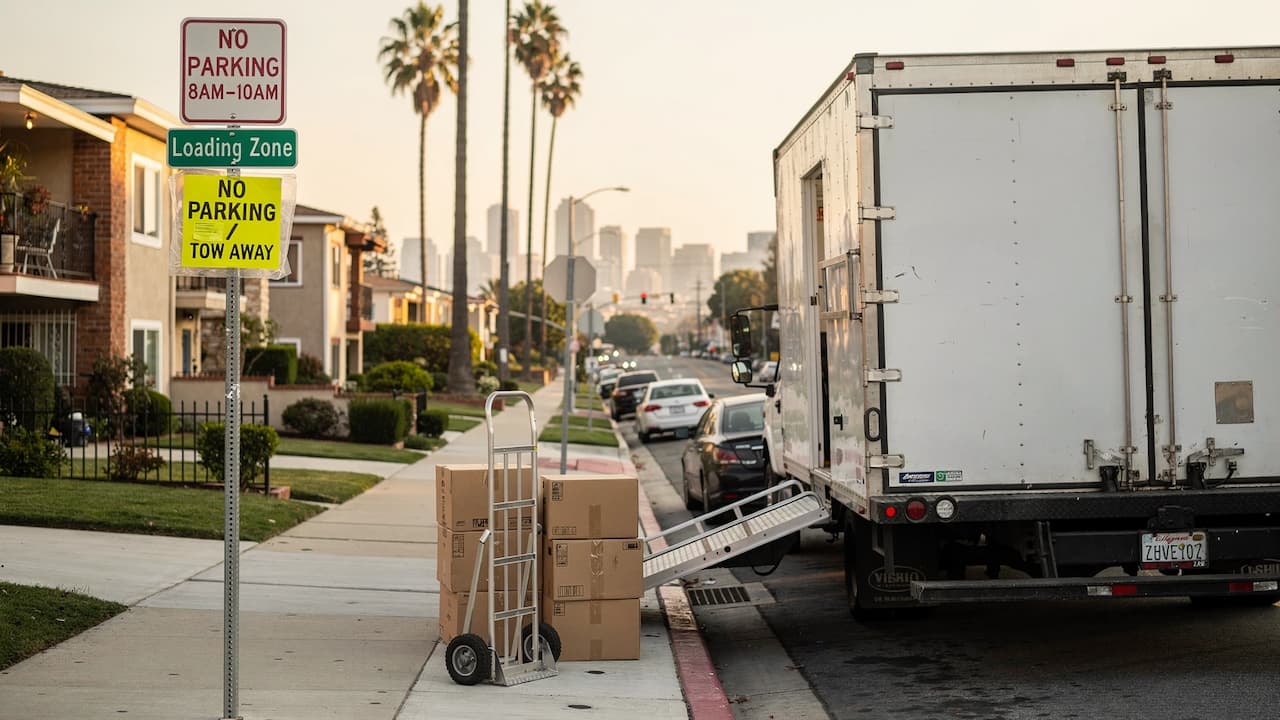
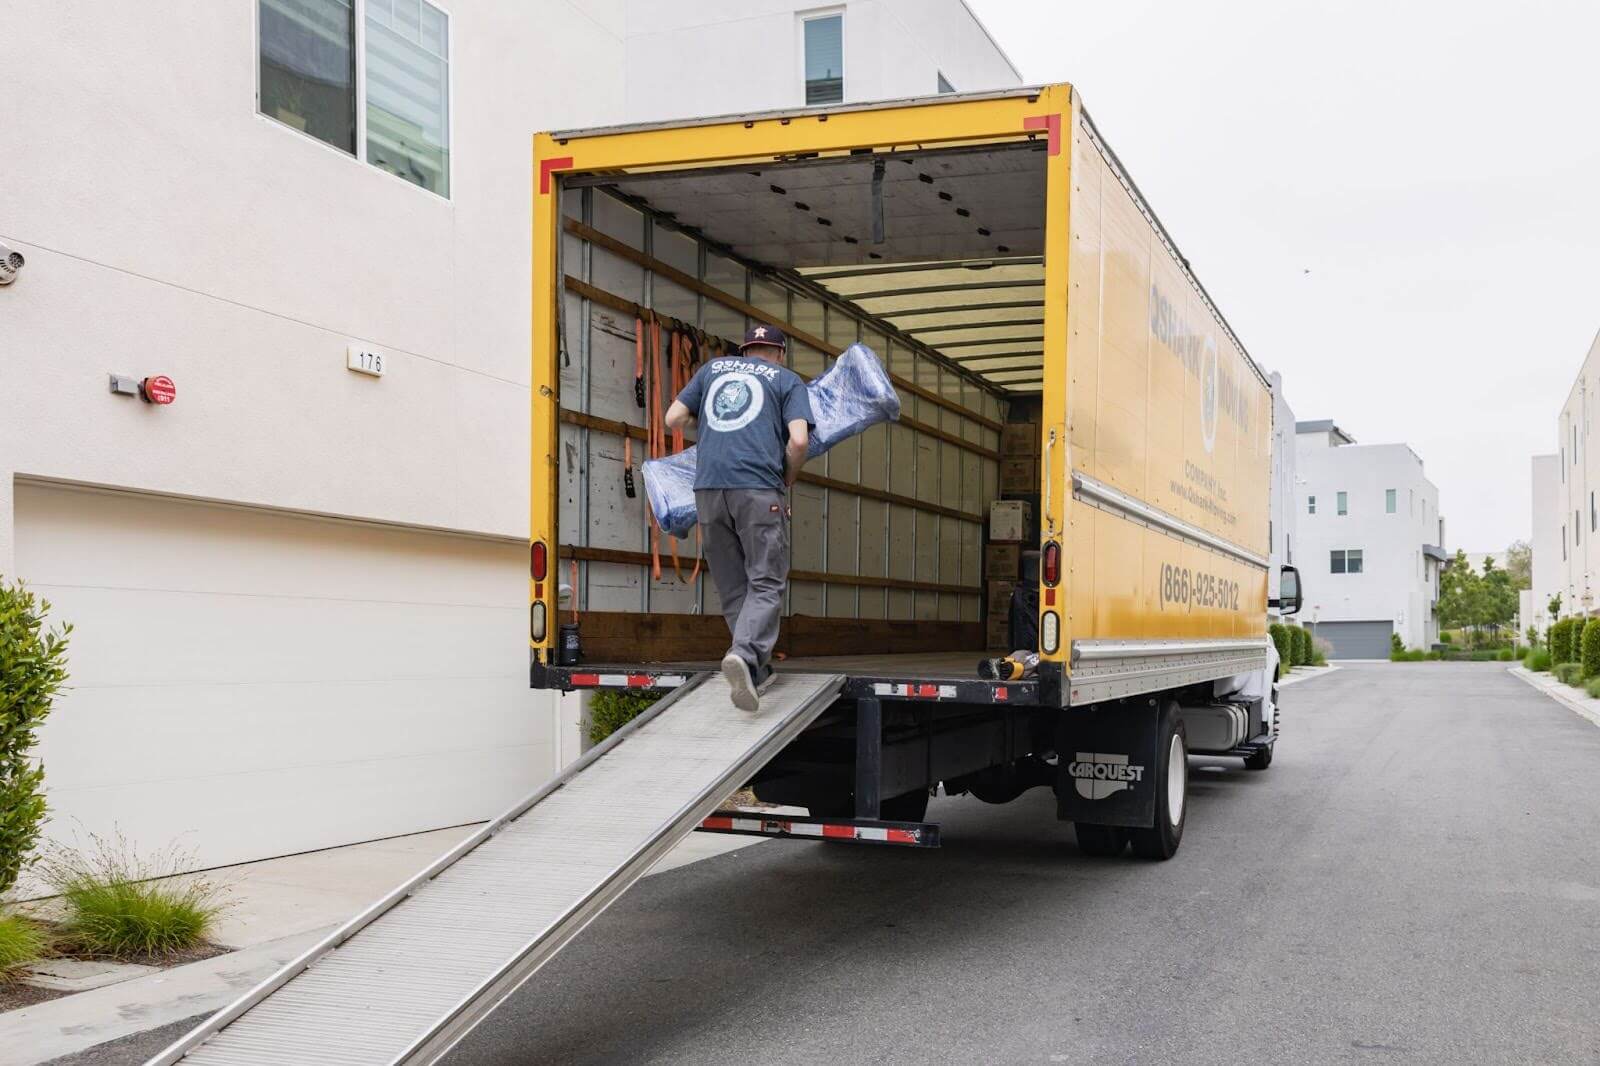
Learn how to park a moving truck in Los Angeles without tickets or towing. Step-by-step guide to permits, temporary no-parking signs, loading zones, curb colors, and smart move-day strategies.
Moving to a new location can pose certain challenges, such as transporting artwork safely 🖼️ Check out our guide to learn how to pack artwork for moving!
A pool table is amazingly bulky and heavy, so it can be challenging to transport it 🎱 Read our guide to learn how to move a pool table safely and effectively!
Relocating to a new place is a great opportunity to verify what you need and don’t need to keep anymore 📦 Learn more about what to get rid of when moving!
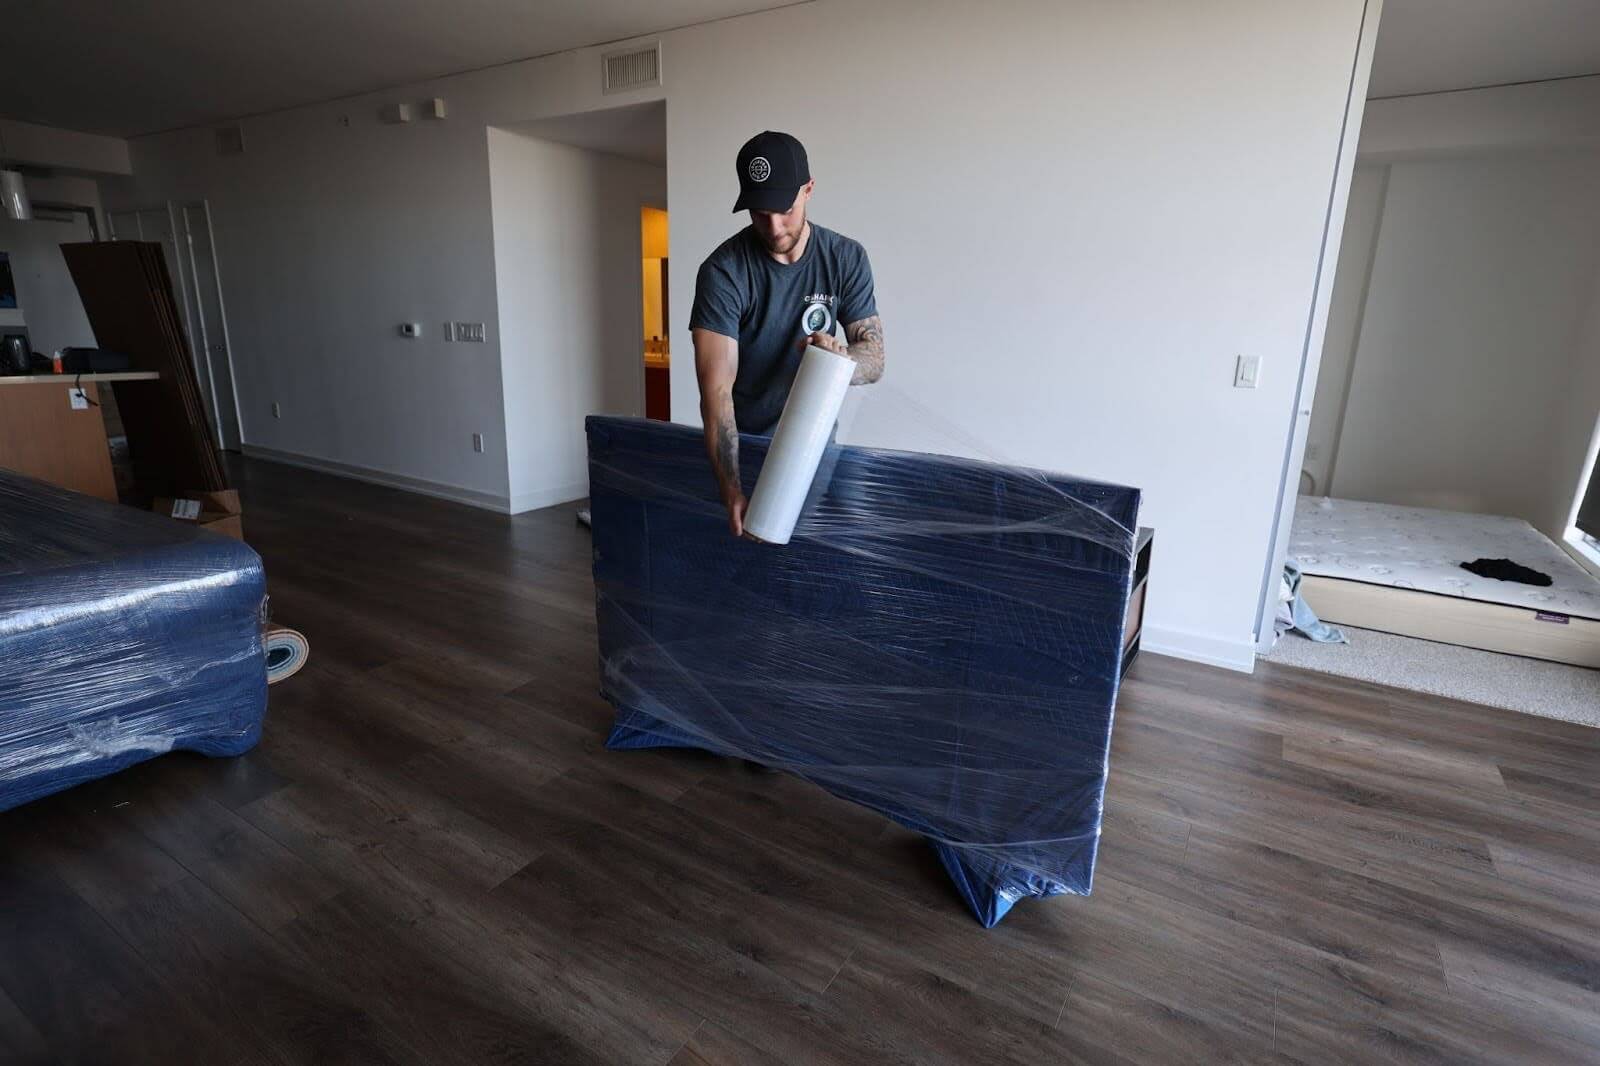
What’s the best way to pack a TV for moving? 📺 We’ve prepared a guide to help you take care of this challenging task. Learn how to pack a TV for moving!
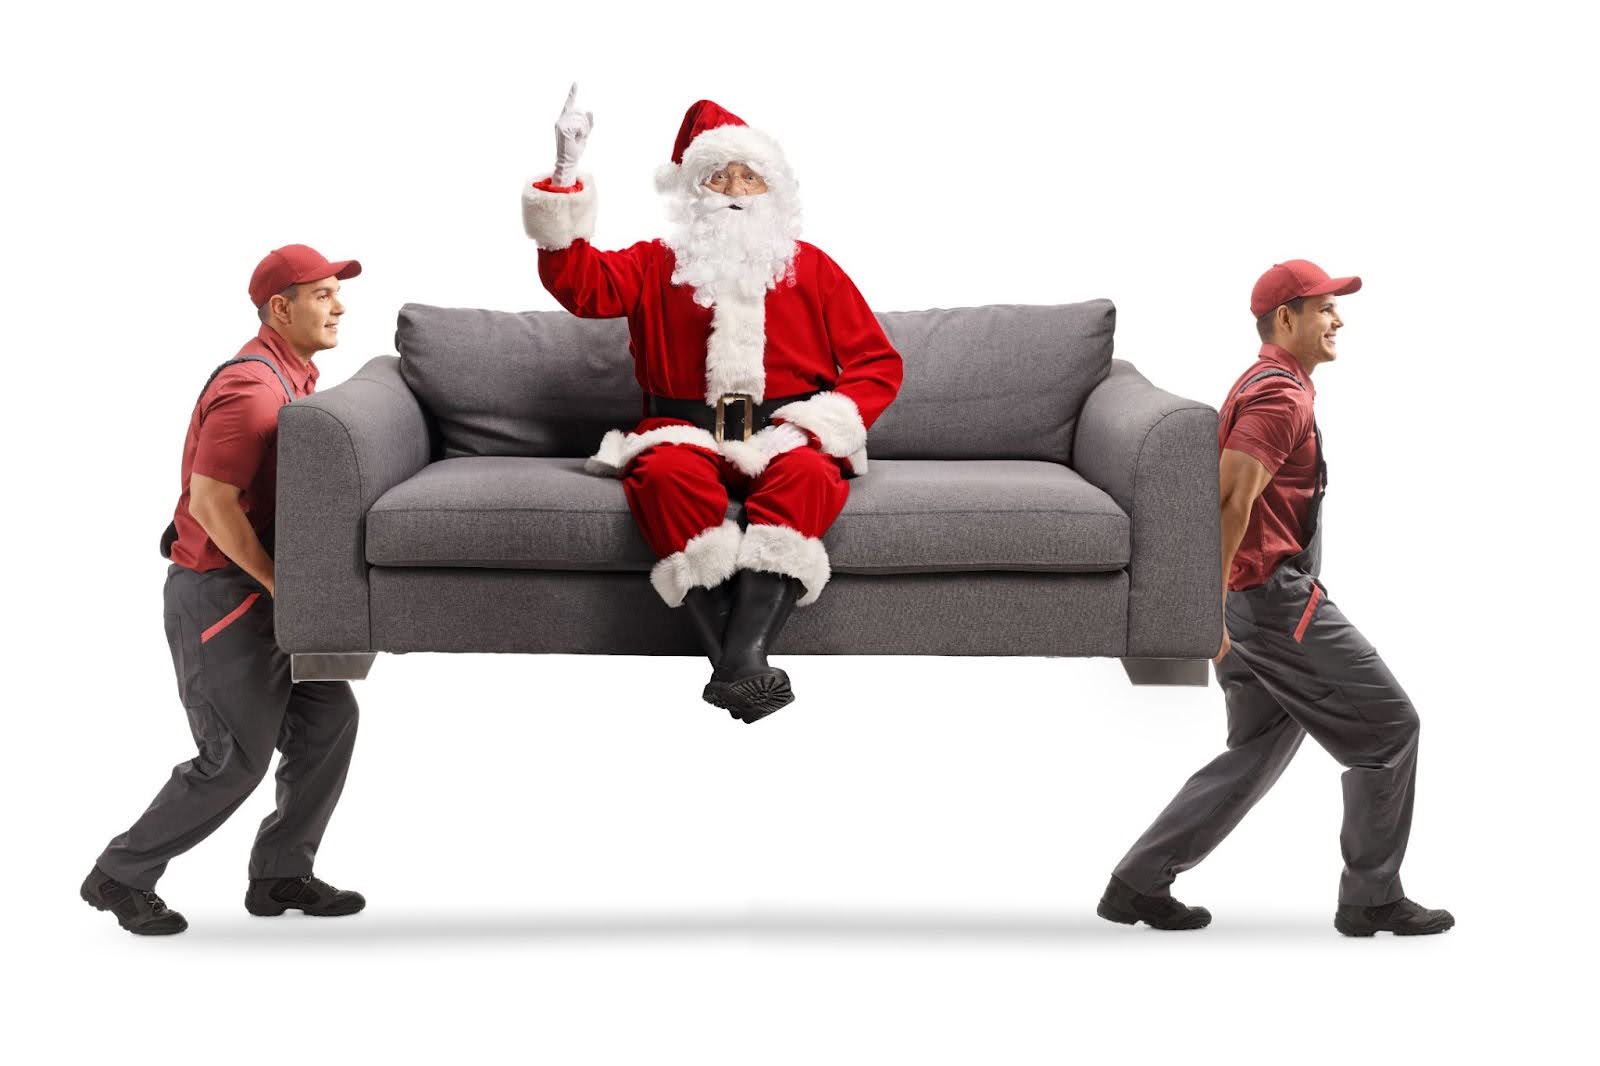
Discover expert tips for moving during the holidays while keeping the festive spirit alive. Stay organized and stress-free during your holiday move.
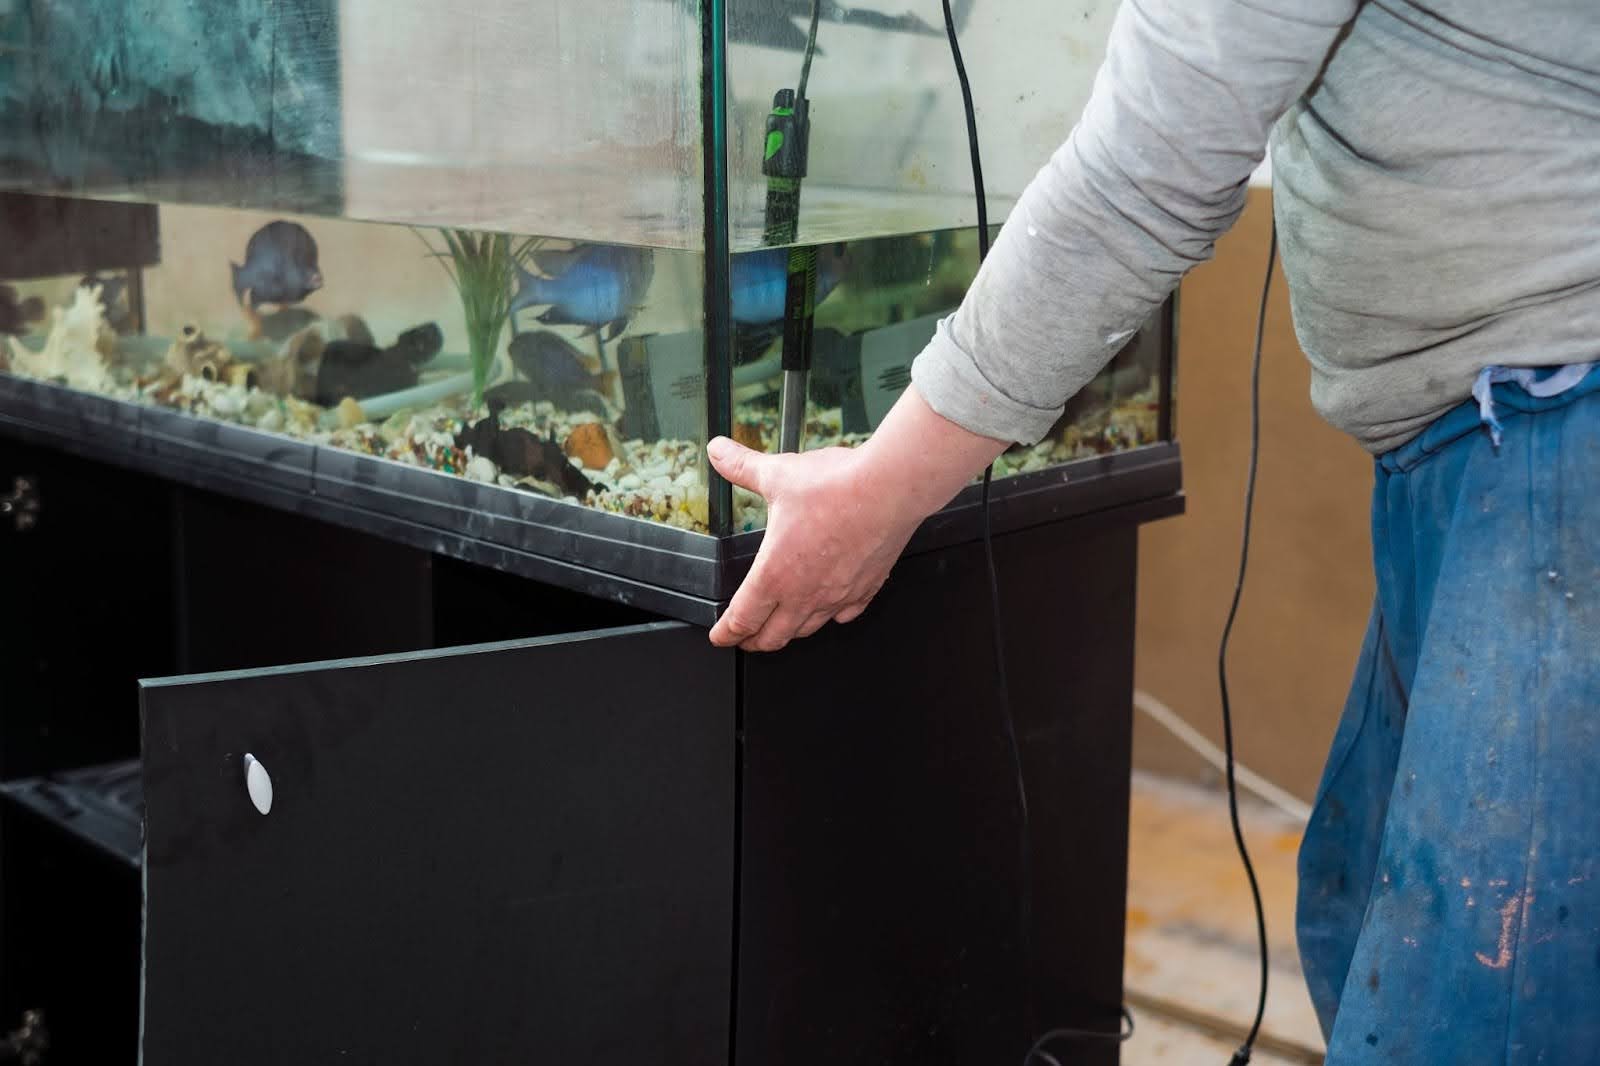
Learn how to safely transport fish when moving. From preparation to travel tips, keep your aquatic friends healthy during the big move.

How to move a piano down the stairs safely and efficiently? 🎹 Read our guide to learn how to deal with this challenging task!

Cross-state moving can be both exciting and stressful, as you need to do a lot of preparations 🚚 Check out our moving out-of-state checklist to make it easier!

Moving your business to a new location gives new opportunities but can be very stressful 🏢 Read our tips on how to make this process easier!

Legal tips for moving: understand contracts, insurance, and rights to protect your belongings and avoid common pitfalls during relocation.
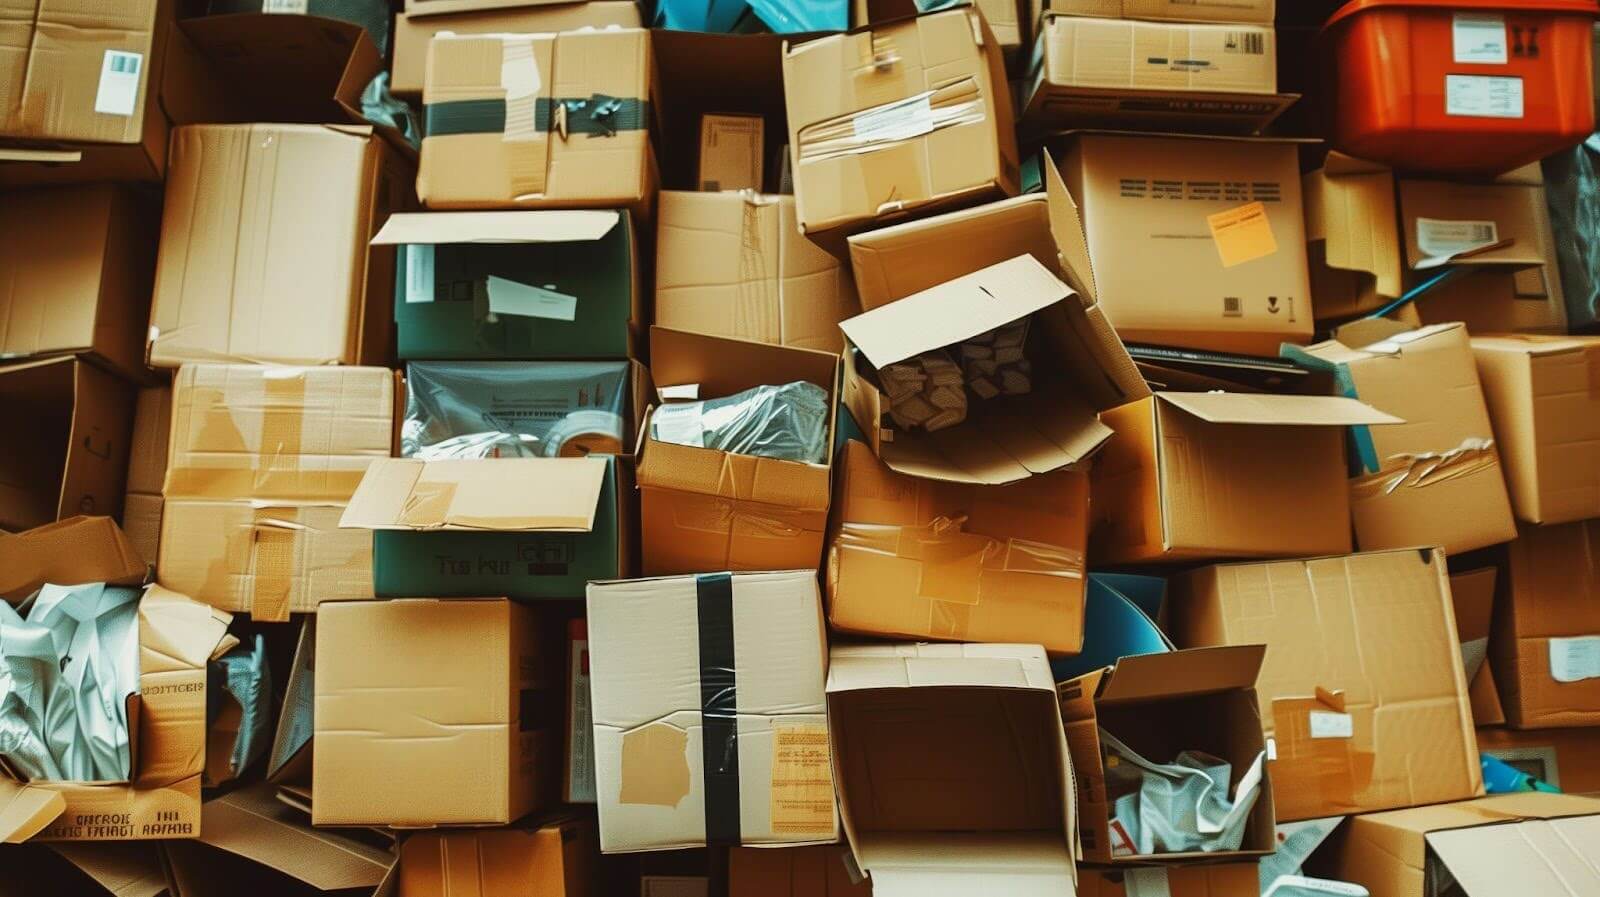
Simplify your move with effective labeling strategies. Discover how to label moving boxes like a pro with Qshark!

Moving doesn't have to be stressful. Explore our tips to handle moving anxiety and learn how Qshark Moving can help make your transition smooth and stress-free.
Moving soon? Simplify your move with our essential tips for decluttering. Find out how to streamline your packing process and start fresh in your new home.
Is your overflowing garage giving you moving day jitters? We'll unveil winning strategies to sort, declutter, and pack items. Learn space-saving hacks now.
Don't let your desktop become a moving day disaster. Our guide simplifies the packing process. Learn disassembly tricks and padding hacks for a safe move.

Moving doesn't have to be a glass-shattering experience! Our guide reveals foolproof methods for packing wine glasses, including clever cushioning techniques.
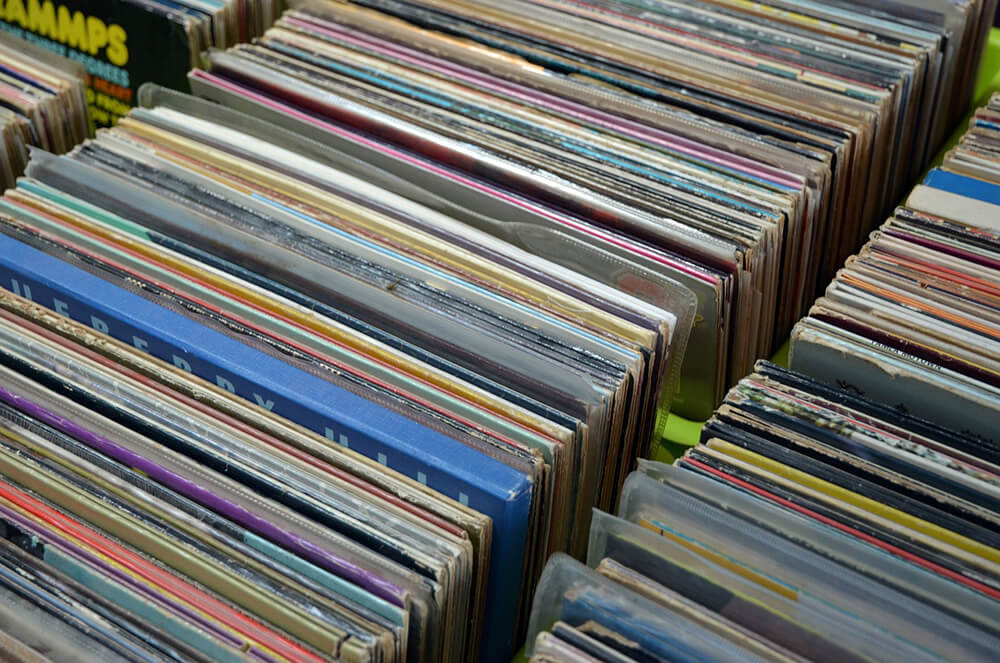
Moving doesn't have to put a damper on your vinyl collection! We share essential strategies for packing your records. Learn how to secure your collection.