
Expert Guide to Taping a Moving Box by QShark Moving Company
Summary: This comprehensive guide delves into every intricate detail on how to tape a moving box. Correctly taping your boxes is crucial to protect your belongings during a move. Every step is crucial from selecting the right tape to the finishing touch. Let QShark Moving Company Los Angeles, your trusted professional movers, guide you through the process to ensure your move is as smooth as possible.
One Minute Read:
| Section | Key Points |
|---|---|
| Understanding the Basics | Box types: small, medium, large. Required materials: packing tape, tape dispenser, box cutter. Get these from QShark Moving Company. |
| Selecting the Right Tape | Packing tape is best. Duct tape leaves residue and masking tape is weak. Use a tape dispenser for efficiency. |
| Taping a Moving Box | Assemble the box, seal the bottom, pack your items, seal the top, and check your work. Make sure all tape is secure and all items are tightly packed. |
| Tips and Tricks | Don’t skimp on tape, apply pressure, use the ‘H’ method, tape box handles. |
| Benefits of Proper Taping | Increases security, makes moving more efficient, provides protection from weather, and simplifies unpacking. |
| QShark’s Professional Packing Services | Quality packing materials, expert packing, efficient service, and peace of mind. Contact our professional movers for assistance. |
I. Introduction
At QShark Moving Company Los Angeles, we believe in doing things right. As experienced local movers, we’ve handled countless boxes and have seen firsthand what happens when a box is not properly taped—it can lead to damage of valuable items and create unnecessary hassle during the moving process.
This article will explore in-depth how to tape a moving box correctly. We’ll cover:
- Understanding the Basics
- Selecting the Right Tape
- Step-by-step Guide to Taping a Moving Box
- Tips and Tricks
- Benefits of Proper Box Taping
- QShark’s Professional Packing Services
This step-by-step guide aims to help you pack your boxes securely, ensuring a safe transit for your belongings. Let’s dive right in!
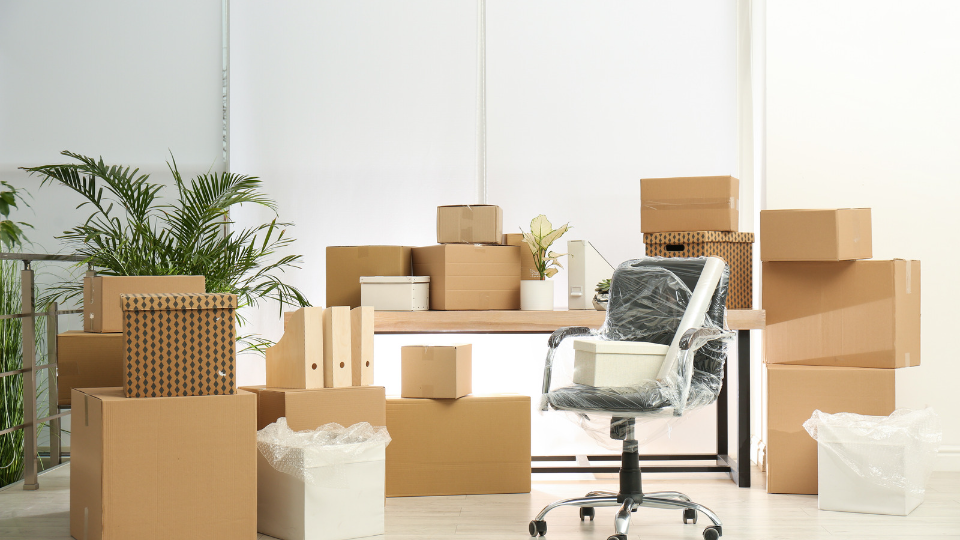
II. Understanding the Basics
Before we delve into taping, getting the basics right is essential. Let’s explore different box types and the materials you’ll need to start taping.
A. Types of Boxes
- Small boxes: Ideal for heavy items like books, DVDs, tools, or canned goods.
- Medium boxes: Versatile and perfect for small appliances, toys, or pots and pans.
- Large boxes: Best for lighter, bulky items like bedding, curtains, or clothes.
Remember, the type of box you choose can significantly impact the safety of your items during the move. So, select wisely!
B. Necessary Materials
Now, let’s get your taping arsenal ready. You’ll need:
- Packing Tape: A robust, wide adhesive tape specially designed for sealing boxes.
- Tape Dispenser: This tool can significantly speed up your taping process.
- Box Cutter: Handy for cutting tape and breaking down boxes if necessary.
These materials are essential for a smooth taping process. If you’re missing anything, head to our QShark Moving Company Los Angeles, for all your moving supply needs.
C. Where to Purchase or Acquire Materials
You can purchase these materials from any local home improvement or office supply store. However, we provide high-quality moving supplies at QShark Moving Company Los Angeles, ensuring your moving process is as seamless as possible.
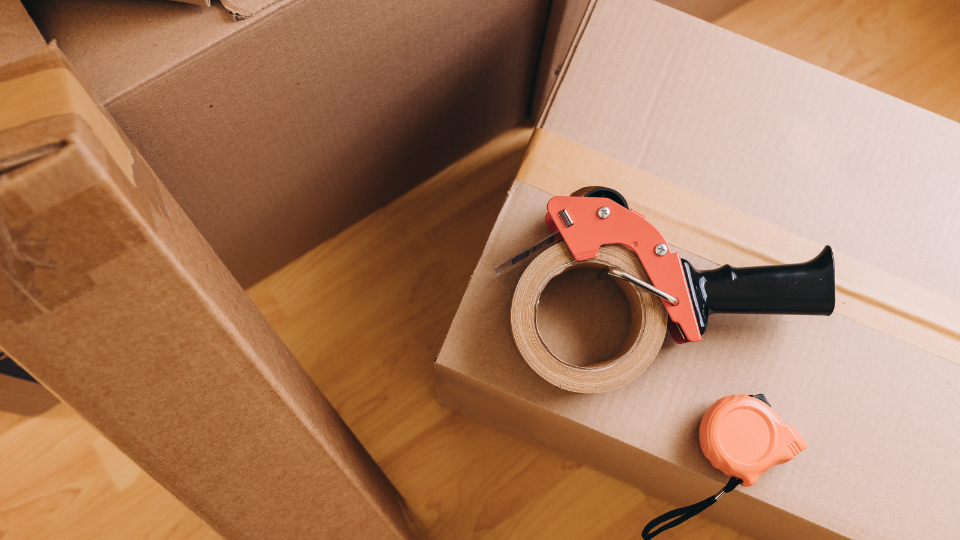
III. Selecting the Right Tape
Selecting the correct tape is pivotal in securing your boxes.
A. Different Types of Tape
There are several types of tape available, each with its unique features. Here’s a quick comparison:
- Packing Tape: Strong and wide, ideal for moving boxes.
- Duct Tape: Although strong, moving boxes are not recommended as it can leave a residue and peel off in certain temperatures.
- Masking Tape: Typically used for painting, it’s too thin and weak for securing boxes.
B. Why Packing Tape?
We recommend using packing tape for taping moving boxes because of its strength and width, ensuring a secure seal. It’s also designed to withstand various temperatures, which is beneficial during transit.
C. Using a Tape Dispenser
A tape dispenser will speed up your taping process and make it much more comfortable. To use a tape dispenser:
- Position the tape on the sharp, serrated edge.
- Pull the tape across this edge to your desired length.
- Apply the tape to your box, using the dispenser’s edge to cut the tape.
Now that we’ve covered the basics and understood the right tape to use let’s delve into the taping process.
IV. Step-by-Step Guide to Taping a Moving Box
Taping a moving box involves more than slapping some tape onto a box. Here’s our expert guide:
A. Step 1: Box Assembly
- Open up your flat-packed box and shape it into a square or rectangle.
- Fold the bottom flaps inward. The larger flaps should be on the inside, with the smaller flaps on the outside.
- Make sure all corners of the box are properly aligned.
B. Step 2: Sealing the Bottom
- With your packing tape and dispenser ready, apply a strip of tape along the seam where the two bottom flaps meet in the middle. This is your middle seal.
- Add two more strips of tape parallel to your first one for extra reinforcement, effectively creating an ‘H’ shape. Ensure all the tape strips extend 4-5 inches up the sides of the box.
- Press down the tape to ensure it sticks well to the box.
C. Step 3: Packing the Box
- Start placing your items into the box, considering that heavier items should go at the bottom.
- If there’s any void space, fill it with packing material such as bubble wrap, packing peanuts, or crumpled newspaper.
D. Step 4: Sealing the Top
- Once your box is packed, close the top flaps like you did the bottom ones.
- Repeat the taping process as you did on the bottom, starting with the middle seal and then creating the ‘H’ shape for reinforcement.
E. Step 5: Checking Your Work
- Ensure that all tape is secure and has no loose edges.
- Give your box a gentle shake to ensure nothing is moving around. If it is, add more packing material.
V. Tips and Tricks
After mastering the basic taping process, these expert tips and tricks can help ensure a more secure, efficient packing:
- Do Not Skimp on Tape: Better to use too much than too little. The additional cost of the tape is worth the security it provides to your items.
- Apply Pressure: When laying down your tape, ensure it sticks firmly to the box.
- Use the ‘H’ Method: Always remember to use the ‘H’ method for both the top and bottom of the box. It provides extra security and strength.
- Tape Handles: If your box has handles, tape them closed. This helps to reinforce the box’s structure.

VI. Benefits of Proper Box Taping
Properly taping your moving boxes may seem like a minor detail, but it carries significant benefits:
- Security: Secure taping protects your belongings during transit.
- Efficient Moving: Properly taped boxes are easier to handle, stack, and move.
- Protection from Weather: Quality tape can help protect your items from weather elements during the move.
- Ease of Unpacking: Well-taped boxes are less likely to collapse or spill their contents, making unpacking easier.
Remember, efficient moving begins with well-packed and well-taped boxes. Don’t underestimate the importance of this step in your moving process. If you need any assistance, your professional movers at QShark Moving Company Los Angeles are always ready to help!
Next up, we’ll introduce you to QShark’s professional packing services and how they can make your moving process even more seamless.
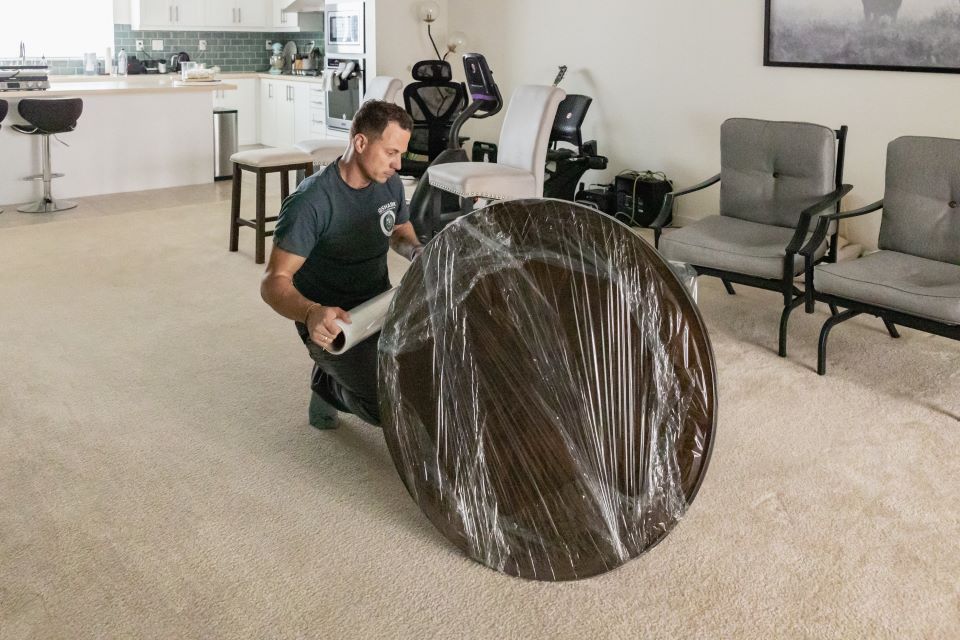
VII. QShark’s Professional Packing Services
At QShark Moving Company Los Angeles, we strive to make your moving experience as stress-free as possible. While our expert guide can help you tape boxes like a pro, sometimes, you might need more assistance.
Our professional packing services offer:
- Quality Packing Materials: We use only the best packing materials to ensure the safety of your belongings.
- Expert Packing: Our skilled professionals are trained in packing various items, from fragile glassware to bulky furniture.
- Efficient Service: We aim to get your belongings packed and ready to move quickly and efficiently.
- Peace of Mind: Knowing your belongings are packed securely by professionals can provide relief during the chaotic moving process.
Whether you need assistance packing a few delicate items or your entire home, we’re here to help. Reach out to our team of professional movers to discuss your packing needs.
And finally, let’s wrap up our comprehensive guide:
VIII. Conclusion
Taping a moving box correctly is critical in ensuring a successful move. From choosing the right tape to applying it effectively, each step matters in protecting your valuables during transit. We hope this comprehensive guide has been helpful in your moving process.
At QShark Moving Company Los Angeles, we’re committed to helping make your move as smooth as possible. If you have any questions or need further assistance, don’t hesitate to contact us.
Thank you for trusting QShark with your moving needs. Happy moving!
 What to Pack First When Moving | Expert Tips by Qshark Moving
 How to Move a Home Gym Without Floor Damage (Treadmills, Peloton, Weights) | QShark
 Los Angeles Moving Truck Parking Guide: Permits, No-Parking Signs & Ticket-Proof Loading | QShark
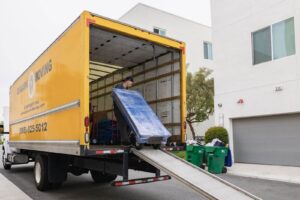 How to Pack Artwork for Moving | Qshark Moving Company
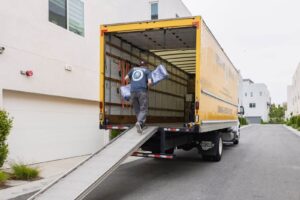 How to Move a Pool Table | Qshark Moving Company