
Garden Tool Packing Checklist: What to Clean, Wrap, Label, and Load First
Garden tools are built to survive dirt, rain, and hard work — but moving trucks are a different kind of stress test. Sharp edges can tear boxes, long handles turn into spears during transport, and a single forgotten bottle of fertilizer can leak into everything.
This 2026-ready guide walks you through packing garden tools the same way professional crews do: safely, cleanly, and in a way that makes unpacking at the new place fast. It covers hand tools, long-handled tools, hoses and irrigation parts, power equipment (gas, electric, and battery), chemicals, and bulky outdoor items.
Key Questions Answered
- How do you transport garden tools for moving without damaging other items?
- What’s the safest way to pack rakes, shovels, and other long-handled tools?
- How do you pack a garden hose, sprinklers, and irrigation parts so they don’t kink or leak?
Quick Answer: The “Pro Method” in 6 Steps
- Declutter (move what’s worth moving, donate/recycle the rest).
- Sort by category: hand tools, long-handled tools, power tools, hoses/irrigation, chemicals, decor/furniture.
- Clean and dry everything (prevents rust, mold, and “mystery dirt” in your new garage).
- Secure sharp points (cap, wrap, or sheath blades and tines).
- Pack with the right containers (toolbox, heavy-duty boxes, bins, or bundles) and label clearly.
- Load smart: heavy on the floor, long items along the walls, and keep anything “do not stack” accessible.
If you want to sanity-check the “move vs replace” decision (especially for bulky equipment), you can use a local reference like how much movers cost in San Diego — even if you’re moving somewhere else.
Assessment Before Packing: What’s Worth Taking?
Start with a quick audit of your shed/garage. Garden tools tend to multiply, and moving is the perfect time to stop paying to transport duplicates or dead weight.
Declutter Like a Mover (Not Like a Minimalist)
- Keep: tools you use often, high-quality pruners/shears, specialty tools, expensive power equipment, and anything hard to replace.
- Donate: working duplicates, spare pots, clean hand tools, unopened soil amendments.
- Recycle/Dispose: broken tools, rusted-out heads, expired chemicals, old fuel, damaged hoses.
Fast rule: If something is heavy + cheap + easy to re-buy (like a wobbly plastic rake), it’s usually not worth paying to move — especially on long-distance relocations.
Don’t Skip This (Especially for Long-Distance)
Some items are restricted by many movers and/or unsafe in a moving truck. Even on a DIY move, transporting them carelessly can turn into a leak, odor, or fire risk.
- Fuel (gasoline, mixed fuel), oily rags, and partially filled fuel cans
- Pesticides, herbicides, insecticides and strong solvents
- Propane cylinders (often require separate handling and strict safety rules)
- Pool chemicals and oxidizers
If you’re hiring professionals, ask your coordinator what their policy is for hazardous materials. If you’re moving yourself, plan a safe disposal or separate transport strategy for anything questionable.
Sorting Garden Equipment: The Nitty-Gritty That Saves Hours Later
Sorting is the difference between “everything survived” and “why is my hedge trimmer buried under patio cushions?” Make categories that match how you’ll unpack at the new place.
Create Practical Categories
- Long-handled tools: rakes, shovels, hoes, spades, brooms, edging tools
- Hand tools: trowels, pruners, loppers, shears, hand cultivators, weeding knives
- Power equipment: mower, trimmer, leaf blower, pressure washer, hedge trimmer
- Watering/irrigation: hoses, nozzles, sprinklers, drip tubing, timers
- Hardware + accessories: twine, plant ties, stakes, trellis clips, spare blades
- Outdoor items: patio furniture, planters, garden decor, storage bins
Labeling That Actually Works
- Use waterproof markers and wide tape (labels fall off dusty plastic bins).
- Write room + category: “Garage – Hand Tools”, “Backyard – Hose & Irrigation”.
- Add one “Open First” box for essentials: gloves, pruners, hose nozzle, small shovel, trash bags.
Make an Inventory (It’s Not Overkill)
A simple inventory helps with unpacking and protects you if something goes missing. A quick phone note is enough: tool name, condition, and where you packed it (“Bin 2”, “Bundle A”).
Preparing Garden Tools for Moving: Safety, Cleaning, and Rust Prevention
Garden gear is full of soil, plant residue, moisture, and sometimes sap — all of which can cause rust, attract pests, or stain other items in transit. A quick prep session makes tools safer and keeps them working once you arrive.
Step 1: Clean (and Fully Dry)
- Knock off dirt with a stiff brush or putty knife.
- Wipe metal with a damp cloth, then dry completely.
- For sticky sap/resin, use a small amount of rubbing alcohol on a rag.
Pro tip: Don’t pack anything damp — that’s how rust blooms and mildew starts inside a sealed box.
Step 2: Protect Blades and Hinges
Lightly oil joints on pruners and shears. For shovels, hoes, and spades, a quick wipe with a thin coat of oil (or a silicone spray) helps prevent rust during transport and storage.
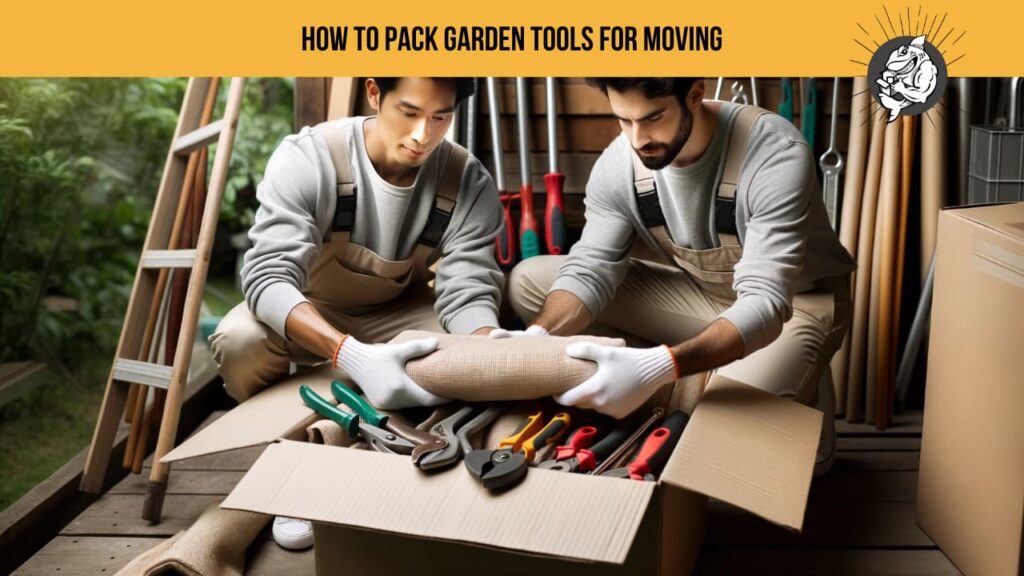
Step 3: Make Sharp Things Not Sharp (for Packing)
- Wrap blades/tines in thick cardboard, then tape securely.
- Use old towels or moving blankets for extra padding (especially for rakes).
- Bundle long tools so tips don’t “float” and pierce boxes.
Packing Materials You’ll Actually Use
You don’t need fancy supplies — you need the right containers for weight, shape, and sharp edges. This table keeps it simple.
| Tool Category | Best Container | Protection Method | Label Example |
|---|---|---|---|
| Hand tools (trowels, pruners, small cutters) | Toolbox, small bin, or heavy-duty box | Wrap sharp edges; add packing paper so tools don’t rattle | Garage – Hand Tools |
| Long-handled (rakes, shovels, hoes) | Bundle + moving blanket or stretch wrap | Cardboard on heads/tines; tape tight; strap as one unit | Bundle A – Long Tools |
| Hoses & irrigation | Medium box or tote | Drain fully; coil; use zip ties; bag small parts | Backyard – Irrigation |
| Power equipment (electric/battery) | Original box or sturdy crate/bin | Remove batteries; secure cords; pad to prevent shifting | Garage – Power Tools |
| Outdoor decor & planters | Boxes with dividers or bins | Wrap fragile items; avoid packing with heavy metal tools | Patio – Decor |
How to Pack Specific Garden Tools
Different tools fail in different ways during a move. The goal is to stop sharp parts from cutting, stop heavy parts from smashing, and stop everything from shifting.
Long-Handled Tools: Bundle the Smart Way
Lay tools head-to-head and handle-to-handle, then wrap the “business ends” with cardboard and a moving blanket. Finish with stretch wrap or strong tape, and strap the bundle so nothing slides out.
- Rakes: cover tines well — they love to snag everything.
- Shovels/spades: wrap blades; place heavy ends at the bottom if storing upright.
- Hoes/edgers: treat like blades; don’t trust “it’s not that sharp.”
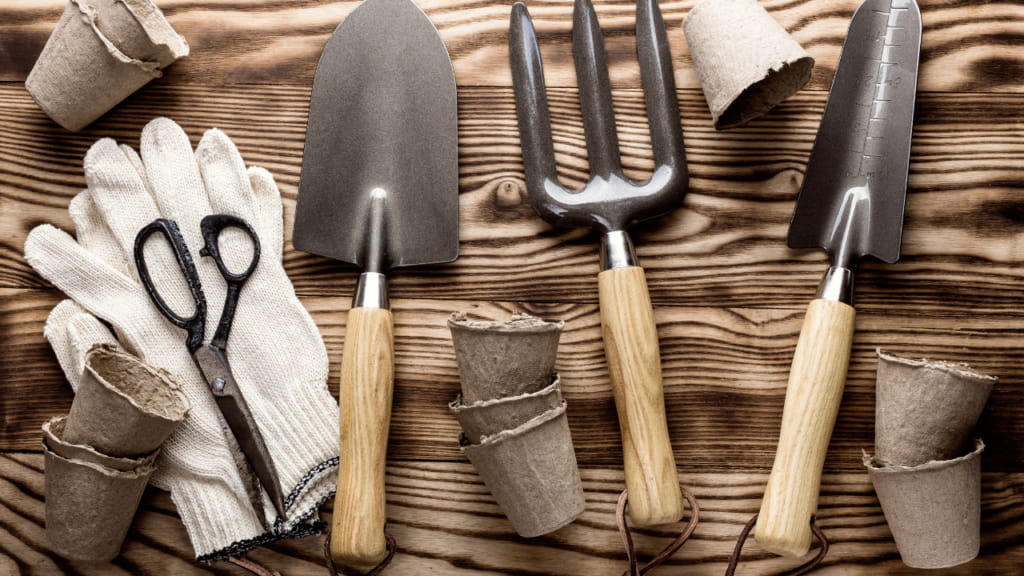
Hand Tools: Stop the Rattle
Hand tools do best in a toolbox, but a heavy-duty box works if you build padding into it. Line the bottom with packing paper, add tools, fill gaps with more paper, and keep weight reasonable.
If you’re already packing household items, the same paper you’d use for fragile goods works great here too (example: packing paper strategies translate perfectly).
Hoses, Nozzles, and Irrigation Parts
- Drain completely and let the hose dry (prevents mildew and odor).
- Coil loosely to avoid kinks; secure with zip ties or soft twine.
- Bag small parts (nozzles, timers, quick-connects) in labeled Ziplocks.
Power Equipment: Gas, Electric, and Battery Tools (2026 Reality)
Modern garages usually include cordless tools and lithium-ion batteries — which means you should pack them intentionally, not casually.
- Gas-powered tools: drain fuel (and often oil) before transport; wipe residue; keep caps tight.
- Battery tools: remove batteries; protect terminals; store in a cool, dry container; avoid crushing pressure.
- Cords/chargers: coil and tie; label chargers (it’s shocking how many look identical).
If disassembly or prep feels like a project you don’t want, professional crews can handle the heavy and awkward items. Qshark Moving Company helps with disassembly/assembly and heavy-item logistics so your move stays on schedule.
Special Items: Grills, Propane, and “Garage Chemistry”
Outdoor grills, propane tanks, fertilizers, pesticides, and similar items often require separate handling. In many cases, movers won’t transport them — and even on a DIY move, they should be treated with caution.
- Propane tanks: check local rules and your mover’s policy; do not pack in random boxes.
- Fertilizers/pesticides: keep in original containers; use leak-proof bins; avoid heat exposure.
- Oily rags: don’t toss them in a cardboard box — dispose of them safely.
Loading the Truck: Prevent Damage Before It Happens
Packing is only half the job — loading is where tools either stay safe or become a wrecking ball. Use these placement rules:
- Heavy bins on the floor, tight against the wall (toolboxes, metal tools, power equipment).
- Long bundles along the walls or strapped to tie-down points (don’t leave them loose in the center).
- Don’t stack fragile items under metal tools (decor and planters should be separated).
- Keep “Open First” accessible so you can unpack essentials without unloading the whole truck.
If you’re hiring movers by the hour, good staging saves real money. Put bundles and bins in one area, label them clearly, and keep pathways clear so your crew can work efficiently.
Conclusion: How to Pack Garden Tools for Moving
Packing garden tools for a move isn’t about stuffing boxes — it’s about preventing the three classics: cuts (sharp edges), crushes (heavy weight), and corrosion (moisture and residue). Clean and dry your tools, bundle long-handled items properly, isolate anything risky (fuel, chemicals), and load the truck like you actually want your tools to work on day one in the new place.
The Takeaway
- Be thorough: cleaning and drying prevents rust and mold during transit.
- Be practical: move what’s worth moving and skip the cheap duplicates.
- Be safe: sharp tools, propane, and chemicals deserve a separate plan.
- Be efficient: labels + bundles + bins reduce time on moving day.
Want to streamline the rest of the move too? These guides pair well with garden/garage packing: how to pack electronics for moving and how to get a COI for moving.
Happy moving — and may your new garden be easier to set up than your last one.
FAQ: How to Pack Garden Tools for Moving
Q: How do you transport garden tools for moving?
A: Use bins/toolboxes for heavy hand tools, bundle long-handled tools with protected heads, and keep everything from shifting during transit. Heavy items go on the truck floor; long items go along the walls and get strapped down.
Q: How do you pack rakes and shovels?
A: Bundle them head-to-head and handle-to-handle, cover tines/blades with cardboard, wrap in a moving blanket, and secure tightly with stretch wrap or strong tape. Label the bundle and keep it strapped during transport.
Q: How do you pack loose tools for moving?
A: Put loose tools in a toolbox or heavy-duty box with packing paper filling the gaps so nothing rattles. Wrap sharp edges individually and keep weight manageable to avoid box failure.
Q: How do you pack a garden hose for moving?
A: Drain it fully, let it dry, coil loosely to prevent kinks, secure with zip ties/twine, and bag small parts (nozzles, connectors) in labeled Ziplocks. Store the coil where heavy items won’t crush it.
Q: How do you pack mops and brooms for moving?
A: Treat them like long-handled tools: dry mop heads completely, bundle handles together, wrap the ends, and secure the bundle. Keep them separate from sharp metal tools so bristles don’t get mangled.
Q: How do you transport hand tools?
A: A toolbox is ideal. If you don’t have one, use a small reinforced box or bin, pad the bottom, wrap sharp pieces, and prevent movement with paper or towels. Label it clearly so it’s not mistaken for “lightweight misc.”
 What to Pack First When Moving | Expert Tips by Qshark Moving
 How to Move a Home Gym Without Floor Damage (Treadmills, Peloton, Weights) | QShark
 Los Angeles Moving Truck Parking Guide: Permits, No-Parking Signs & Ticket-Proof Loading | QShark
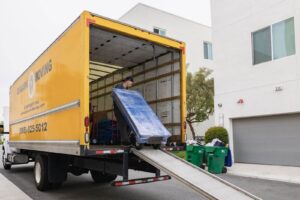 How to Pack Artwork for Moving | Qshark Moving Company
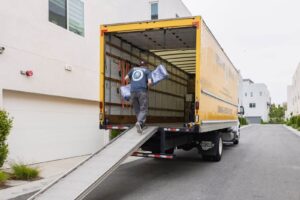 How to Move a Pool Table | Qshark Moving Company